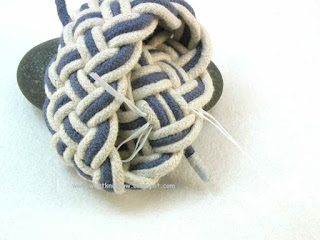
Place a double overhand knot in the thread and cinch it up tight. This secures the cords so they don't come undone later.
Trim off the excess thread using a heavy shear or wire cutter. Leave a 1/16" tail on the knot.
When you are finished the cords should be tightly bound together by the thread.
Trim off the cords using a wire cutter or scissor. Trim as close the weave as possible without damaging the other cords.
Here you can see the trimmed cord ends. The stitching is on the inside of the bracelet hidden from view. The cord ends will fray slightly causing them to be less noticeable.
After trimming the cords you may re-shape the bracelet by placing it over a bottle or other cylindrical object and evening the alignment of the cords.
Here's the finished product after having been shaped and stretched.
< back to part 2
design and photographs © copyright 2013 WhatKnotShop


