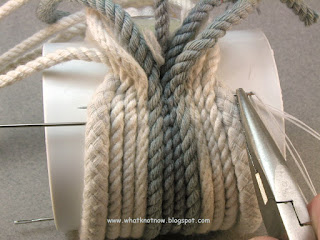
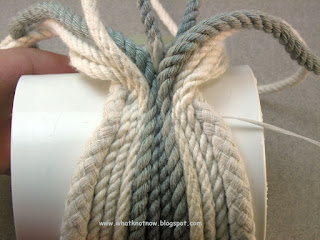
Anchor the infill cords:
Work the infill cords into position as tightly as possible against the folded framing cord.
Place a needle as close as you can to hold everything parallel. Make sure the softer cords are not lost under the others.
Hint: line up the cords by pressing them into place against the mold with your thumb. Work the temporary holding needle through each cord.
Use the original needle and nylon thread to secure the infill cords. Carefully pass the needle through the edge of the framing cord and then the infill cords. Hold the needle at 90 degrees to intersect the cords. Draw the thread through carefully.
Check to be sure you have threaded all the cords together on the first pass. Try to thread through the center of each cord if possible. This will anchor the entire group of infill cords.
Another view of the all-important first pass of edge stitching. Reposition the infill cords as needed to anchor them securely.
Hint: A small pair of pliers is useful for handling the needles during the edge-stitching operation.
Pull on the nylon thread to squeeze the cords together as shown. Check to see that all the cords have been captured by the first two passes. If not...Remove the thread and try again!
< back to part 3 forward to part 5 >
design and photographs © copyright 2013 WhatKnotShop


No comments:
Post a Comment