
Unwind the cord and work out all the kinks so it is relaxed. Find the center of the cord about 15 ft from one end and place a loop under the left hand rubber band as shown.
(The rest can be coiled up and placed inside the cardboard tube)

bulk cord in white and hand dyed colors available here

keep going around the tube and cross OVER the first (standing) lead. Place a bight under the left hand rubber band opposite the existing bight on the right.
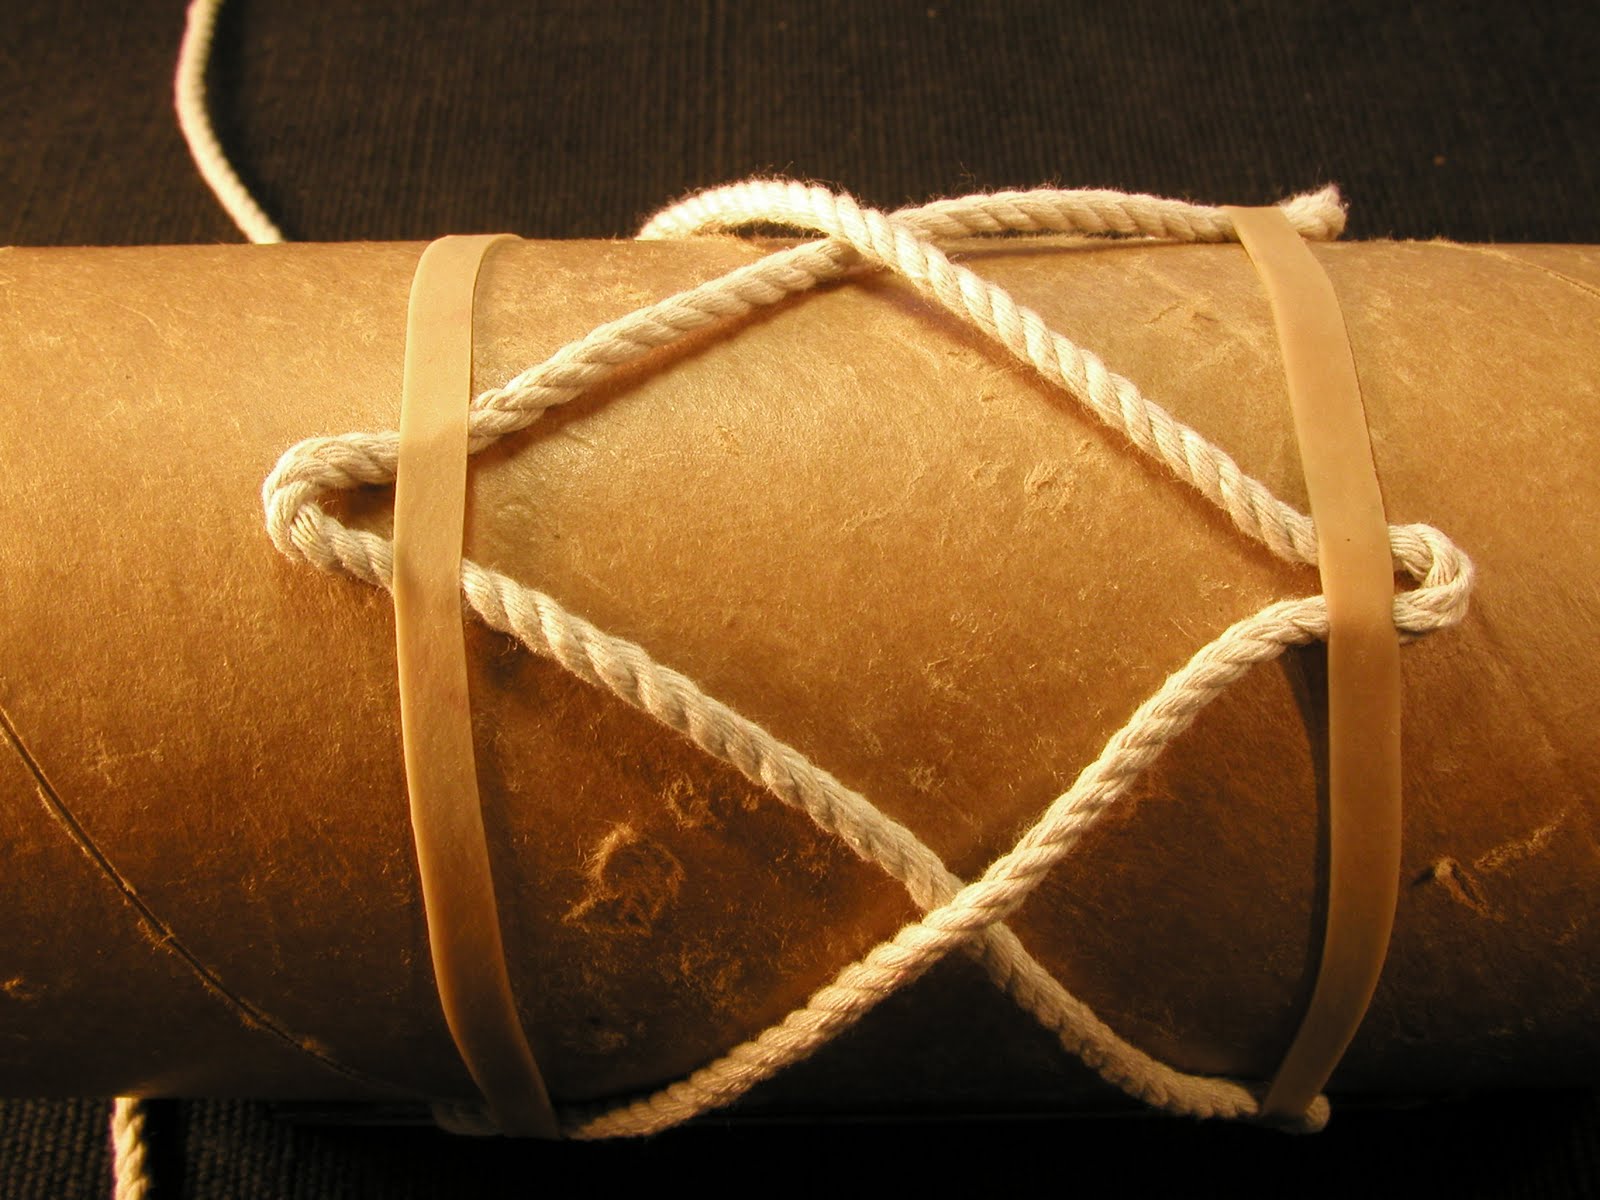
Here you can see the pattern clearly. Continue around placing new bights opposite existing bights. See how it creates a diamond shape?

Remember this move, you will use it to complete the rest of the knot.
< go to previous page go to next page part 2 >
need something easier? Try this four part design
5 comments:
Thank you!
Where do you buy your cord? I have looked at our local craft stores and they don't carry anything like that.
The cord used in this tutorial is from Martin Combs who offers a wide range of 100% cotton cords in different sizes. Here's a link to his website Knotstuff Cords where you can order bulk quantities of this cord:
http://www.angelfire.com/ak/skateworld/knotstuffcords.html
If you would like a smaller quantity or a kit with cut-to-order cord plus illustrated instructions please contact me directly. thanks and happy knotting!
How long does the cord need to be? It says 15ft but is that end to end or just half of it?
The total cord length required is 30 ft. When you start the knot you will need to find the middle of the cord about 15 ft from one end and lay it out as shown.
Post a Comment